I love AMIs and I cannot lie. Gone are the days when you had to read lengthy documentation and figure out how to manually install binaries. Gone are the days when you had to worry about installing different package managers to manually install all the required libraries via pip or conda.
We live in a brave new world where with just few clicks, we can spin up an EC2 instance with all the necessary binaries and libraries installed with proper configurations to quickly get started. Personally, as a developer who loves to try new technologies and who does a lot of demos, this is so convenient.
In this post, I would like to show you how you can quickly spin up an EC2 instance with Solace’s PubSub+ Event Broker deployed on it. Of course, you can always just use Solace Cloud and deploy on AWS through it in seconds but where is the fun in that?
Solace PubSub+ Event Broker
Solace PubSub+ Event broker is “unified event broker technology available as run-anywhere software, purpose-built hardware, and a managed service that you can use together to stream events across your distributed enterprise”. PubSub+ Standard Edition is free to use, even in production.
Amazon Machine Image (AMI)
In case you are not familiar with AMIs, they provide the information required to launch an EC2 instance. Amazon has AMI Marketplace where you can pick from numerous paid and free AMIs. Solace also has an AMI available for PubSub+.
You will find the necessary information on the AMI page about the instance and what it contains. In my opinion, the most important section is the Pricing Information section which tells you the estimated cost of launching an instance from this AMI.
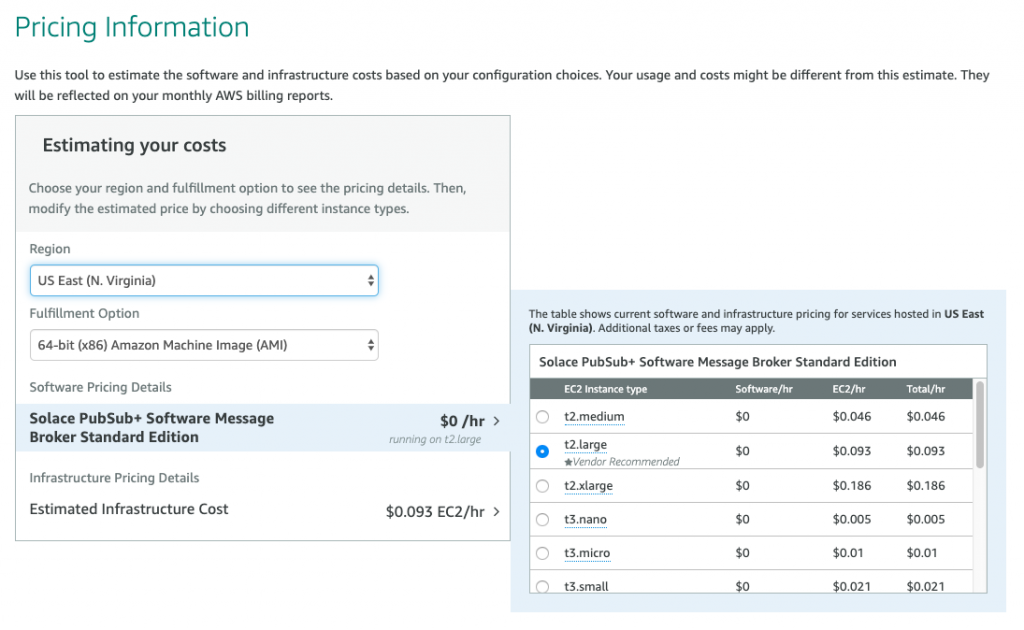
As you can see, there is no cost to using the PubSub+ software itself but there is cost involved for the underlying AWS infrastructure since you can’t use the free tier EC2 instance to run PubSub+. Keep this in mind as you launch your own EC2 instance.
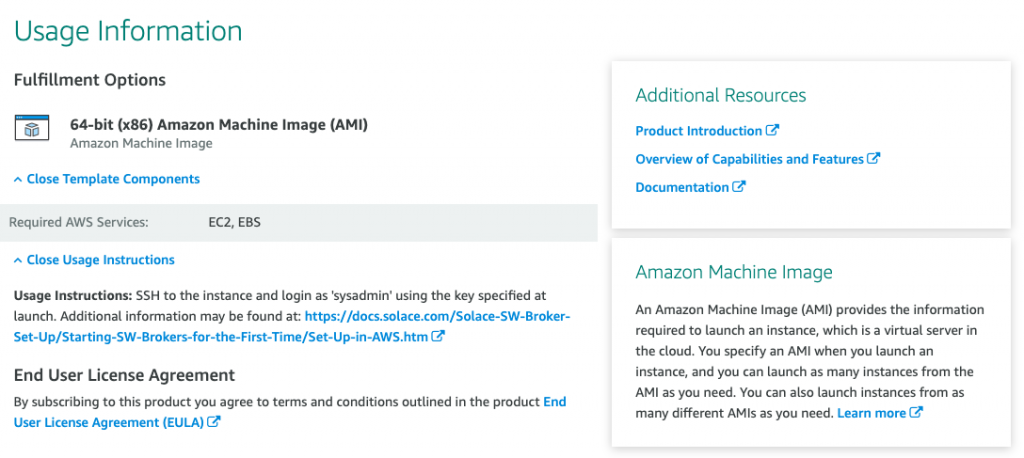
The Usage Information section is also very helpful. You can find links to several necessary resources there which help you get started.
Alright, let’s go ahead and launch an EC2 instance from the AMI. You can do it straight from the current page or you can go to the EC2 page and launch an instance from there. We will do it from the EC2 page.
Launching EC2 instance from PubSub+ AMI
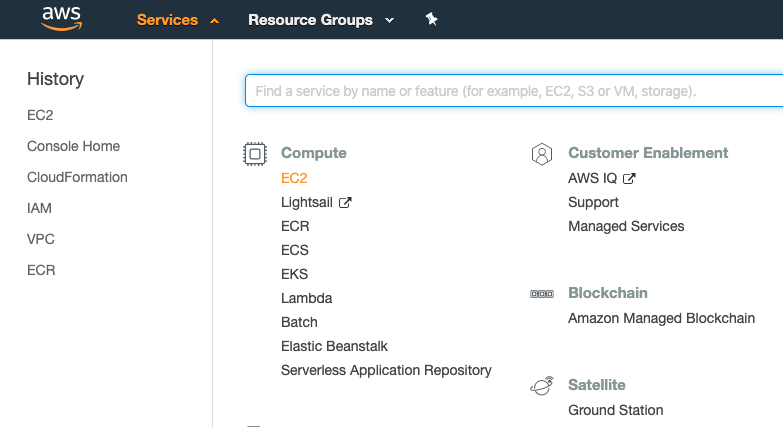
Login to your AWS account and go to EC2 services page.
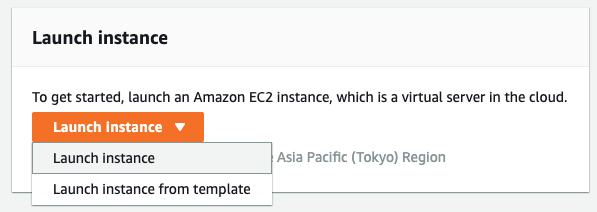
Once you are there, click on the Launch instance button and select Launch instance.
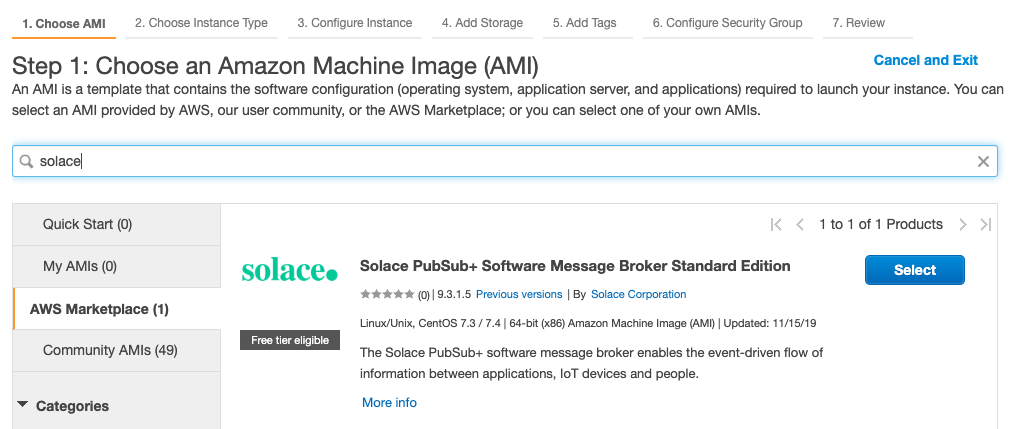
Great, you will now be taken to a page where you can pick an AMI from which you will launch your EC2 instance.
Click on AWS Marketplace tab and search for Solace. You will see Solace’s PubSub+ AMI as the result of your query. Click Select to proceed.
On the next page, you will see the pricing and usage information that we saw earlier. Click Continue.
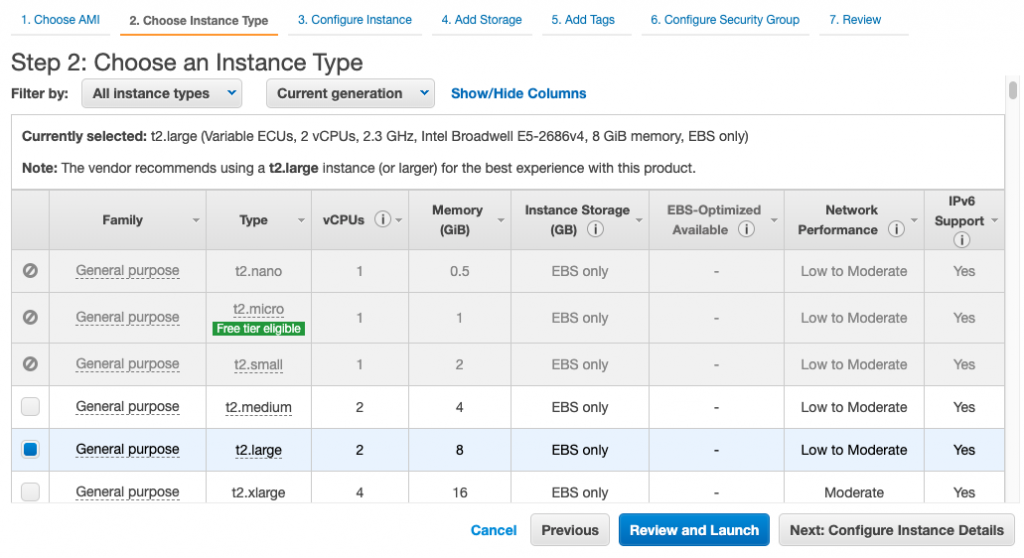
Then, you will be asked to pick the underlying EC2 instance. There are minimum requirements to use PubSub+ so you cannot use t2.micro (free tier). The recommended instance is General Purpose t2.large (2 vCPUs, 8 GiB Memory) so we will stick to that for this demo. Note that different instances cost differently so pick wisely.
Click on Configure Instance Details. On this page, you can select which VPC you would like to deploy your instance into, pick IAM role to attach to the instance among other details. For our purpose, we will stick with defaults. The only thing I changed is that I assigned my existing admin IAM role to my EC2 instance.

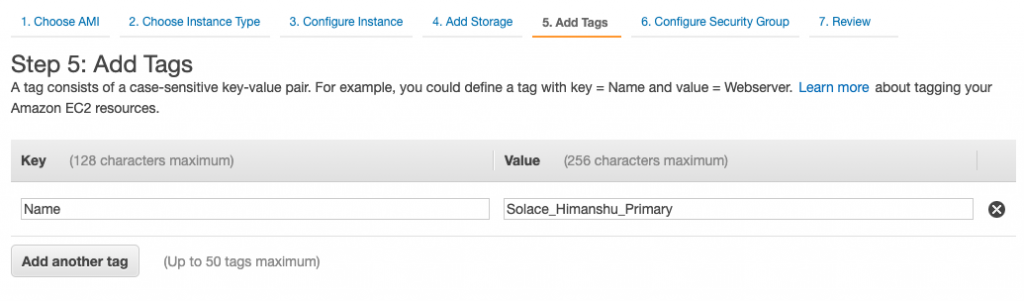
Click on Add Storage and leave it as it is and click on Add Tags.
This is not mandatory but I like to add tags to my EC2 instances so I can easily recognize them later. I added Name tag to my EC2 instance.
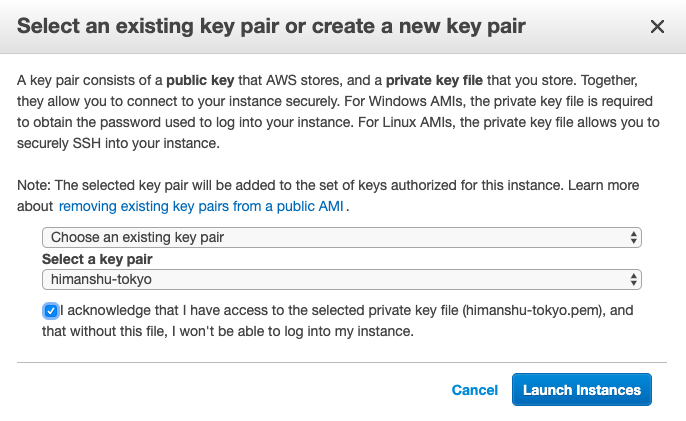
Click on Configure Security Group to configure your security settings. Default option is to create a new Security Group with the recommended rules or you can pick an existing Security Group. For our use case, we will create a new group with recommended settings. Click on Review and Launch. Review the details and click on Launch. You will be asked to select an existing Key Pair or create a new one. I have selected an existing Key Pair which I will be using to login to this EC2 instance.
And, that’s it! We now have an EC2 instance spinning up from Solace’s PubSub+ AMI.
Next, we will take PubSub+ for a spin.
Configuring PubSub+ broker
There is not much to configure, which is the beauty of this whole setup, except for an admin user which we will use to login later into PubSub+ management UI.
First, let’s login to our EC2 instance using the Key Pair which we selected when we launched our EC2 instance.
Go to your EC2 page and you should see your new EC2 instance there:

Select your EC2 instance and click on Connect to get the ssh command. Note that you need to use sysadmin user instead of root.
MacBook-Pro:Downloads hgupta$ ssh -i "himanshu-tokyo.pem" sysadmin@ec2-13-115-6-241.ap-northeast-1.compute.amazonaws.com
Solace PubSub+ Standard
You can now see the Solace PubSub+ instance running:
[sysadmin@ip-172-31-28-133 ~]$ solacectl service status
PubSub+ Application solace is enabled
PubSub+ Application solace status: running
This proves that we were able to successfully launch an EC2 instance with PubSub+ on it. We now need to create an admin user which we will use to login to the management UI. We can do through Solace’e CLI.
First, let’s activate the CLI:
[sysadmin@ip-172-31-28-133 ~]$ solacectl cli

Solace PubSub+ Standard Version 9.3.1.5

Operating Mode: Message Routing Node
Now, we can run the following commands to create a new user called admin with password admin (obviously, don’t do it in production).
ip-172-31-28-133> enable
ip-172-31-28-133# configure
ip-172-31-28-133(configure)# create username admin password admin
That should do it.
Accessing PubSub+ Management UI
Now that we have our admin user created, we can use its credentials to login to PubSub+’s management UI.
Go to the following URL on your browser: http://<ec2_public_ip>:8080
You will see Solace PubSub+’s login page:
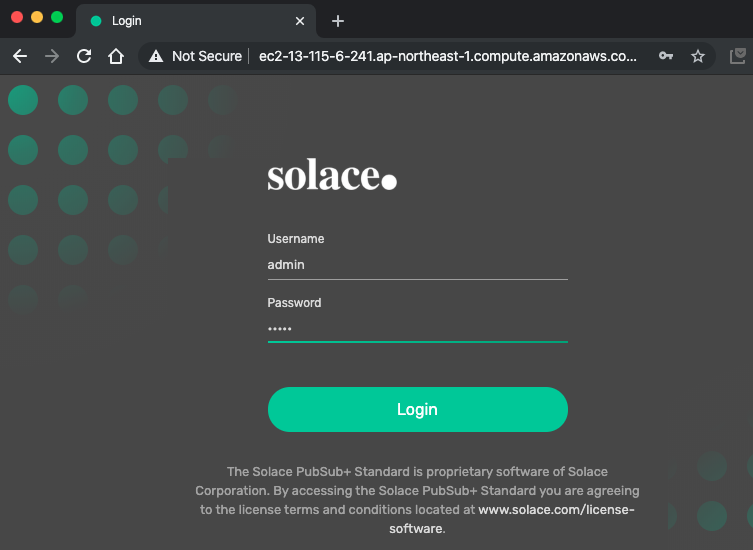
Login with your admin credentials and you will be taken to the following page with your default Message VPN:
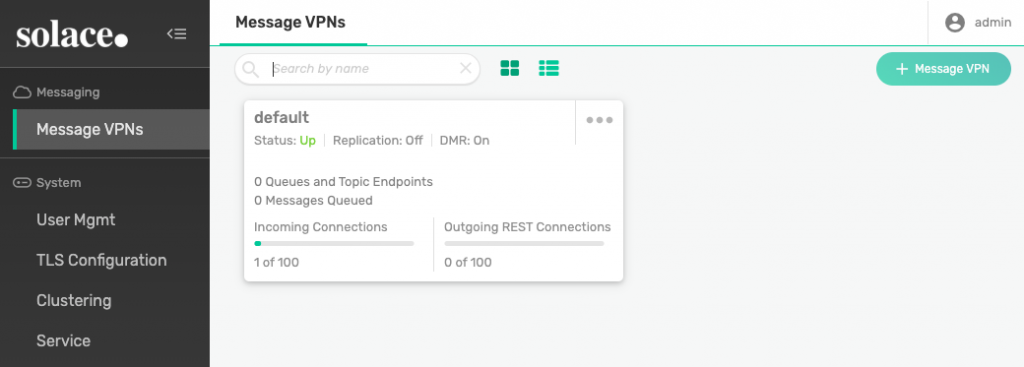
And that’s it folks! This whole process took me approximately 5-10 minutes.
Once you are done playing around with PubSub+, you can easily terminate your EC2 instance from your EC2 instance page. Make sure to do so to avoid any infrastructure charges.